Custom silicone protective cases are meant to provide precise protection for devices, yet many users end up with a “not as described” product. Some users offer official device specifications, but the delivered case still shows a serious error of 5 mm or more. The seller then excuses it as “manual measurement ±2 mm is normal,” when the real issue may be cost-cutting—reusing an old mold instead of building to the new spec. In other cases, the seller pushes all measurement responsibility onto the customer (“measure it yourself using the drawing”), and when the customer measures incorrectly, the case becomes oversized and customer service shifts the blame back to the customer.
The root cause is often an unstandardized customization process. From measurement and data transfer to production standards, any weak link can cause the product to fail. Mastering the correct process is the key to avoiding these pitfalls. This article is compiled from YueHouDZ’s practical experience in custom silicone protective case manufacturing, for reference.
Common Pain Points in Custom Silicone Protective Cases: Have You Hit These “Traps”?
In custom silicone case projects, users typically face four common issues.
1) Major dimensional deviation. Even with official specs, the finished product may still be off by more than 5 mm. For example, a user provided the official iPad Pro dimensions, yet the delivered case was 5 mm shorter. The seller refused to resolve it, claiming “manual measurement ±2 mm is normal.”
2) Customers forced to take full measurement responsibility. Some sellers provide no professional guidance and ask customers to measure diagonals with a ruler. If the customer fails to include frame thickness, the final case may be oversized by 2 mm, and the seller still blames the customer.
3) Misleading drawings. Some 2D drawings do not specify details such as the camera cutout edge radius. Users receive the case and find that the edge is too sharp, preventing the protruding camera module from fitting properly.
4) No scenario-based sizing advice. For example, when customizing a tablet case with a stylus slot, the seller may not confirm the required slot depth. After production, the user finds that an Apple Pencil protrudes by 1 cm, reducing portability.
Root Cause Analysis: Why Do Custom Cases Keep Going Wrong?
The causes can be viewed from both the seller/factory side and the user side.
From the seller/factory side, common reasons include a lack of a professional dimension database and no standardized rules such as “an iPad Pro case should be designed slightly larger than the device by 0.5–1.0 mm.” Without standards, production becomes guesswork. Communication and measurement guidance are often missing: the seller neither clarifies that the maximum outer dimensions (including edges/bezel) must be measured nor proactively uses official device data—instead shifting the measurement burden to the customer.
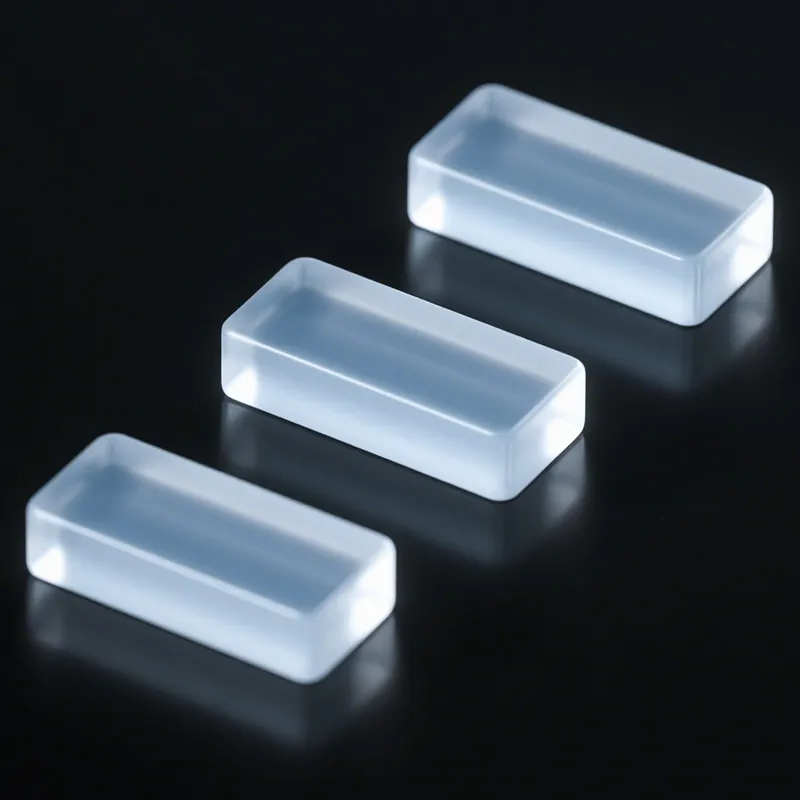
Some suppliers also ignore the silicone material behavior. Silicone typically has a 1.5%–3% shrinkage during compression molding and vulcanization. If the factory does not compensate for shrinkage during the design stage (e.g., Design size = Target size / (1 − shrinkage)), the finished product will be smaller than intended. Hardness selection also matters: below Shore A 40 it may deform easily, while above Shore A 70 it may become less flexible and harder to install.
From the user side, the main issue is a lack of knowledge about measurement requirements. Many users measure with a household ruler (often only accurate to 1 mm) and do not realize that cutouts should be defined by center coordinates rather than edge-to-edge distances, leading to distorted self-measured data.
Before Customization: Key Information You Must Provide to the Factory
To ensure a smooth custom process, provide complete documentation—typically covering six categories:
- Device basic information: confirm the exact model (e.g., iPad Pro 12.9-inch 2022 A2759) and official dimensions (preferably downloaded from the brand’s official “Tech Specs” page).
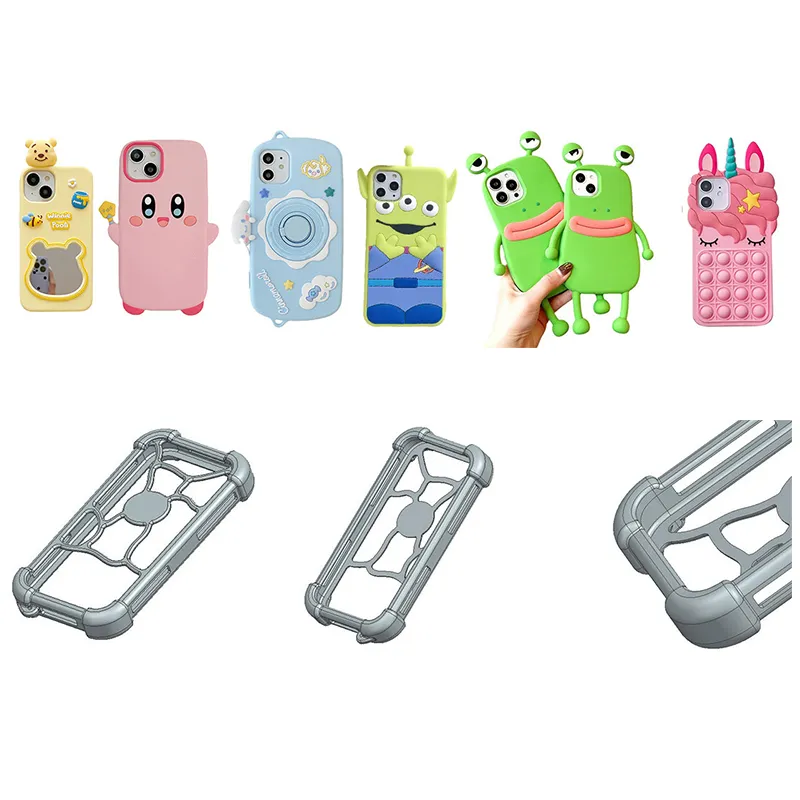
- Core customization requirements: whether a stylus slot is needed (recommended depth ≥ 15 mm), cutout allowances (e.g., a Type-C cutout should be 0.5 mm larger than the actual port opening), and whether a stand is required (stand opening angle should be ≥ 120°).
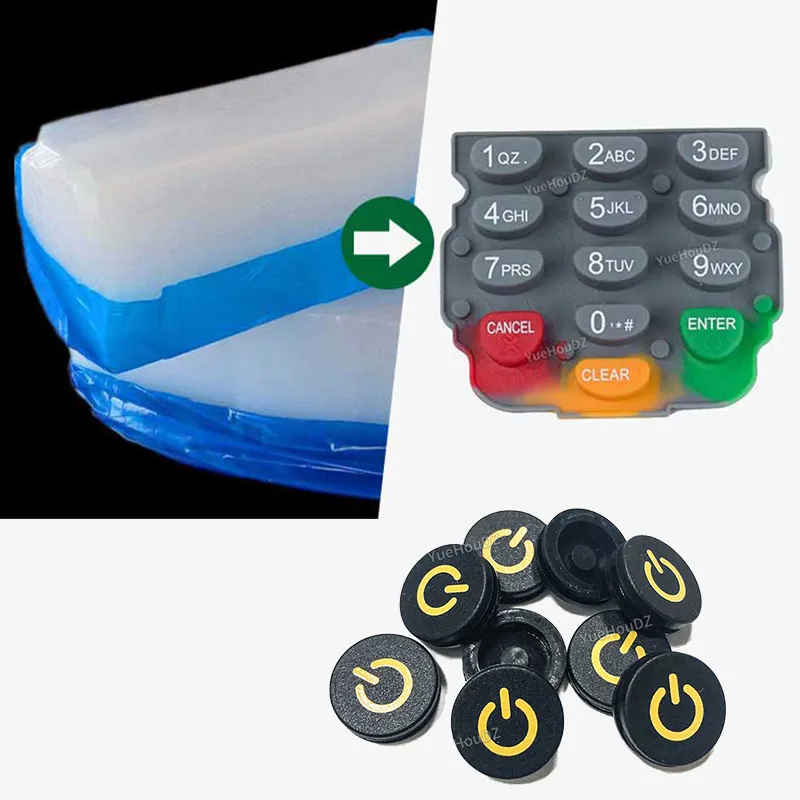
- Material & appearance: specify silicone hardness (tablets commonly Shore A 50–60, phones recommended Shore A 55–65), color (provide Pantone code, e.g., Pantone 18-4120), and surface finish (matte anti-fingerprint / glossy anti-scratch).
- Design files: if special structures are needed (raised textures, embedded logo), provide clear 2D drawings with tolerances such as ±0.3 mm.
- Quantity & packaging: confirm order quantity (below 100 pcs may use 3D-printed prototype approaches; above 1000 pcs typically requires a steel mold) and packaging requirements (individual OPP bag/color box).
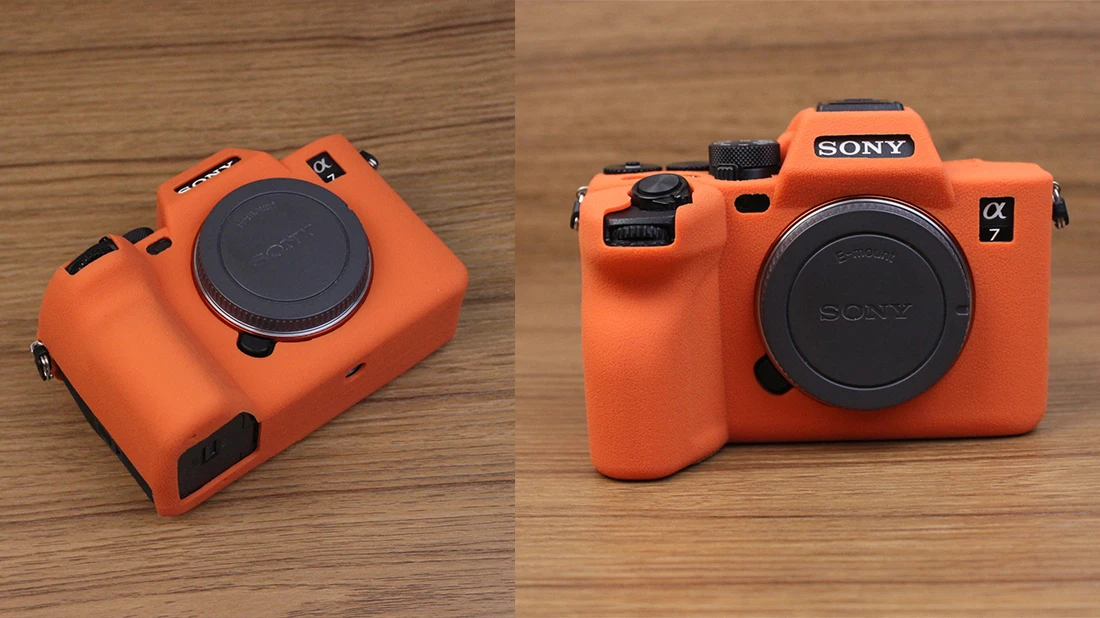
- Other special requirements: typical temperature resistance for silicone cases is about -50°C to 200°C (final values depend on the material supplier’s technical datasheet), and drop protection requirements (e.g., pass a 1.2 m drop test).
Standard Process: How Measurement and Production Should Be Done Properly
A professional custom process follows strict measurement and production standards.
Measurement stage: prioritize two data sources. First, use official technical specifications and obtain precise dimensions (length/width/thickness) and key features (e.g., camera module size) from the brand’s official documentation. Second, use high-precision tools: measure physical samples with a 0.01 mm digital caliper, and clearly define edge radii (e.g., R2.5 mm) and cutout diameters (e.g., a camera cutout should be 0.3 mm larger than the device diameter).
Production stage: three standards should be met. (1) Reasonably clearances: for tablets (e.g., iPad Pro), the case is typically designed 0.5–1.0 mm larger than the device; for phones with narrow bezels, 0.3–0.5 mm is often sufficient. (2) Proper hardness matching: tablets commonly use Shore A 50–60 for both protection and feel; a stylus slot may require local reinforcement up to Shore A 65 to avoid collapse. (3) Sample testing and iteration: a compliant factory will make 1–2 prototypes first for real installation testing. For example, if a user finds the stylus slot is too shallow, the factory may deepen the mold by 3 mm (the final adjustment should be based on actual sample results) before mass production.
Advanced Option: Benefits and Steps of Submitting Your Own 3D Model (STP) to the Factory
Designing your own STP 3D model is an effective way to improve accuracy. The key benefit is tighter control of cutout coordinates, wall thickness (recommended 1.5–2.0 mm), and other details—while reducing communication errors. Typical steps include:
- Obtain device 3D data: download device CAD files from the brand’s official developer resources (e.g., Apple Developer “Device CAD Files”), or use a handheld 3D scanner (e.g., EinScan SE) to scan the physical device and generate point cloud data.
- Create the STP model: use SolidWorks, UG (NX), etc., and build the case based on device data. Define key parameters such as cutout dimensions and coordinates (e.g., Type-C center coordinate X=120 mm, Y=8 mm), hardness requirements (e.g., Shore A 55A ± 5A), and tolerances (e.g., ±0.3 mm).
- Factory handoff: submit the STP file with design notes (e.g., compensate 2% shrinkage). Ask the factory to respond within 24 hours on manufacturing feasibility (e.g., whether mold splitting is needed) and provide a mold flow analysis to confirm wall-thickness uniformity.
Conclusion
The essence of customizing silicone protective cases is standardization and precision. Choose a professional supplier with a dimension database and clear design standards (e.g., tablets +0.5–1.0 mm, phones +0.3–0.5 mm). Provide complete and accurate inputs (model, dimensions, material, functional requirements) to avoid production deviation caused by missing information. Use scientific measurement methods (official data + high-precision calipers), and when necessary, use 3D modeling to make dimensions controllable.
Additionally, require a clear dimensional tolerance commitment (for example, free rework if the finished product exceeds 1 mm deviation—final value should be aligned with actual sample results) to reduce customization risks from the source.