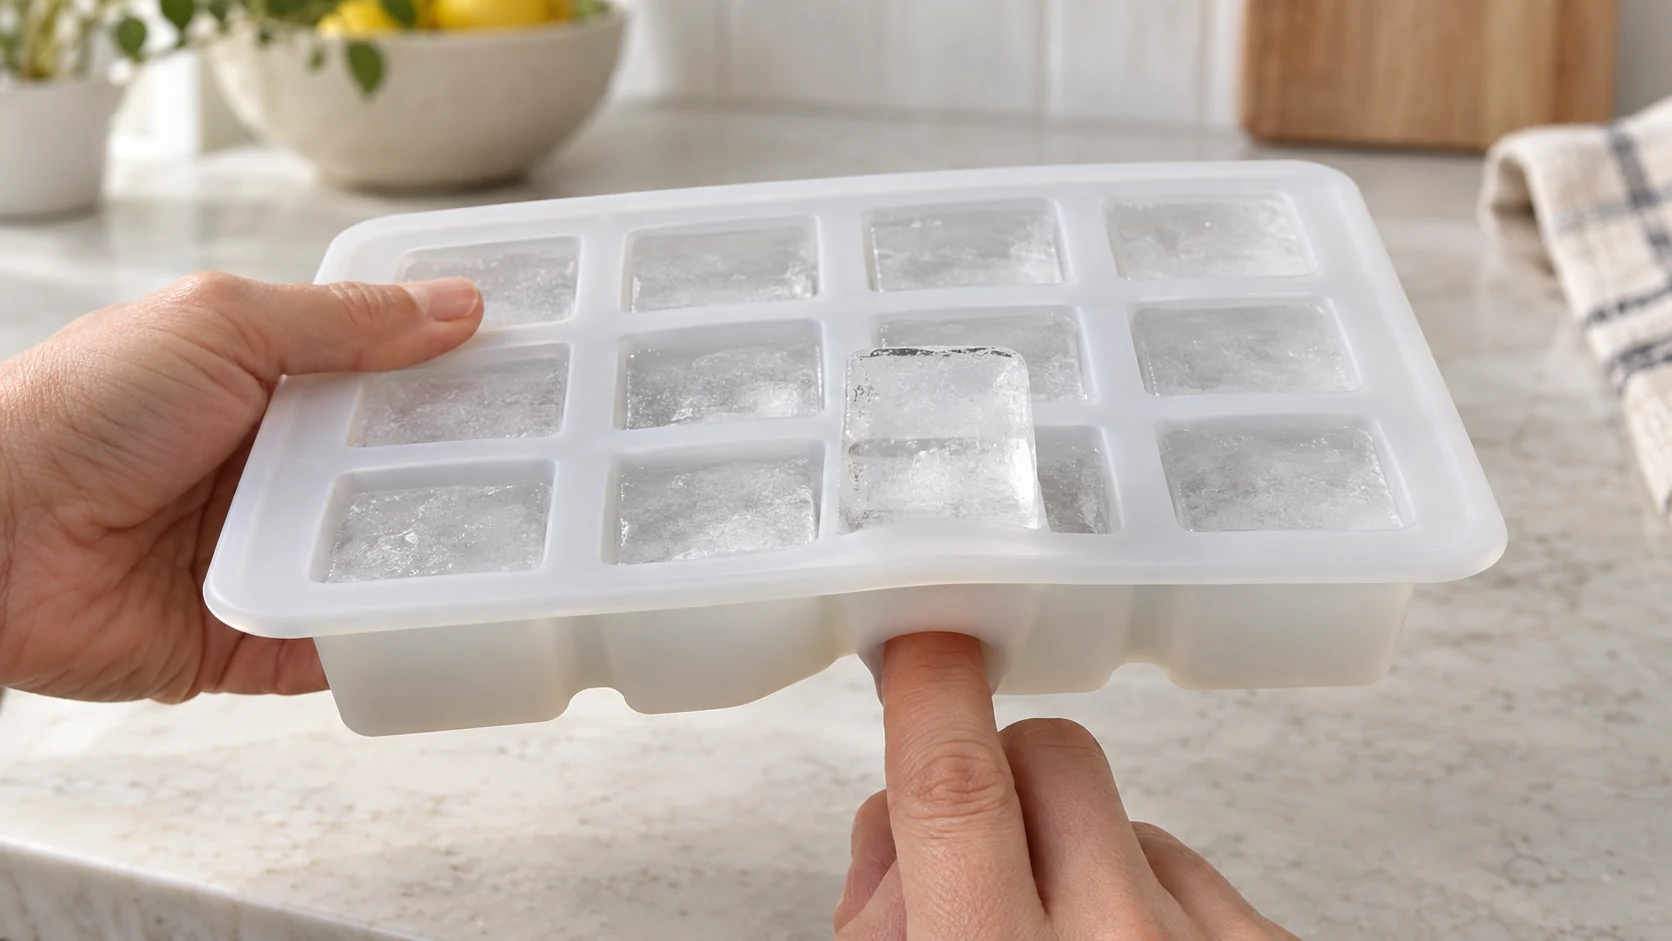
Two products can both be labeled “silicone ice trays,” yet one releases a cube with a light push from below while the other has to be twisted repeatedly. The release feel mainly depends on two factors: how readily the cavity walls deform under load and whether a narrowed opening obstructs the cube as it comes out. The first factor is governed mainly by hardness and the overall structure. The second is a cavity-geometry issue. Mold engineers commonly call this narrowed feature an undercut; this article also uses the more intuitive term “narrowed opening” when explaining it.
Here, “difficult release” means removing an ice cube from a tray during household use. Removing a cured silicone part from its production mold is also called demolding, but that is a different situation. Industrial demolding conditions cannot be applied directly when evaluating the experience of releasing ice at home.
Silicone Is Only the Starting Point: Two Release Checks Matter
Silicone’s elasticity provides a useful foundation for ice release. When a user presses the cavity bottom or twists the entire tray, the walls can deform. This first separates the ice from the inner surface and then creates room for the cube to exit. However, elasticity alone does not mean every finished tray will deform in the same way.
Silicone materials can have different Shore A hardness values. Even with the same nominal hardness, differences in wall thickness, cavity depth, and frame design can change how a finished tray feels under pressure. Ice, meanwhile, does not deform nearly as much as silicone. If the widest internal section of a cavity is larger than its opening, the cube can exit only after the surrounding silicone stretches outward.
To judge whether a tray will release ice easily, first observe how the finished product deforms under load. Next, check the release direction for obstructions. Finally, compare physical samples under consistent test conditions.
First Check: Lower Hardness Is Not Always Better
Silicone hardness is commonly expressed as Shore A hardness, or simply as a Shore A value in factory discussions. A Taobao Baike buying guide for ice molds gives a range of 20–30 Shore A. Technical answers from Huatai Silicone and Kaitaili use 20–40 Shore A, while the Weigui World article gives 20–50 Shore A. Because these three ranges differ, no single hardness value can be applied to every ice tray without considering its dimensions and structure.
The problem with an overly hard tray is relatively easy to see. When a finger pushes upward from the cavity bottom, the bottom and sidewalls may not deform enough to separate the ice progressively from the cavity wall. If the cavity also has a pronounced narrowed opening, the silicone must deform even more to let the cube pass, which further increases the required pushing force.
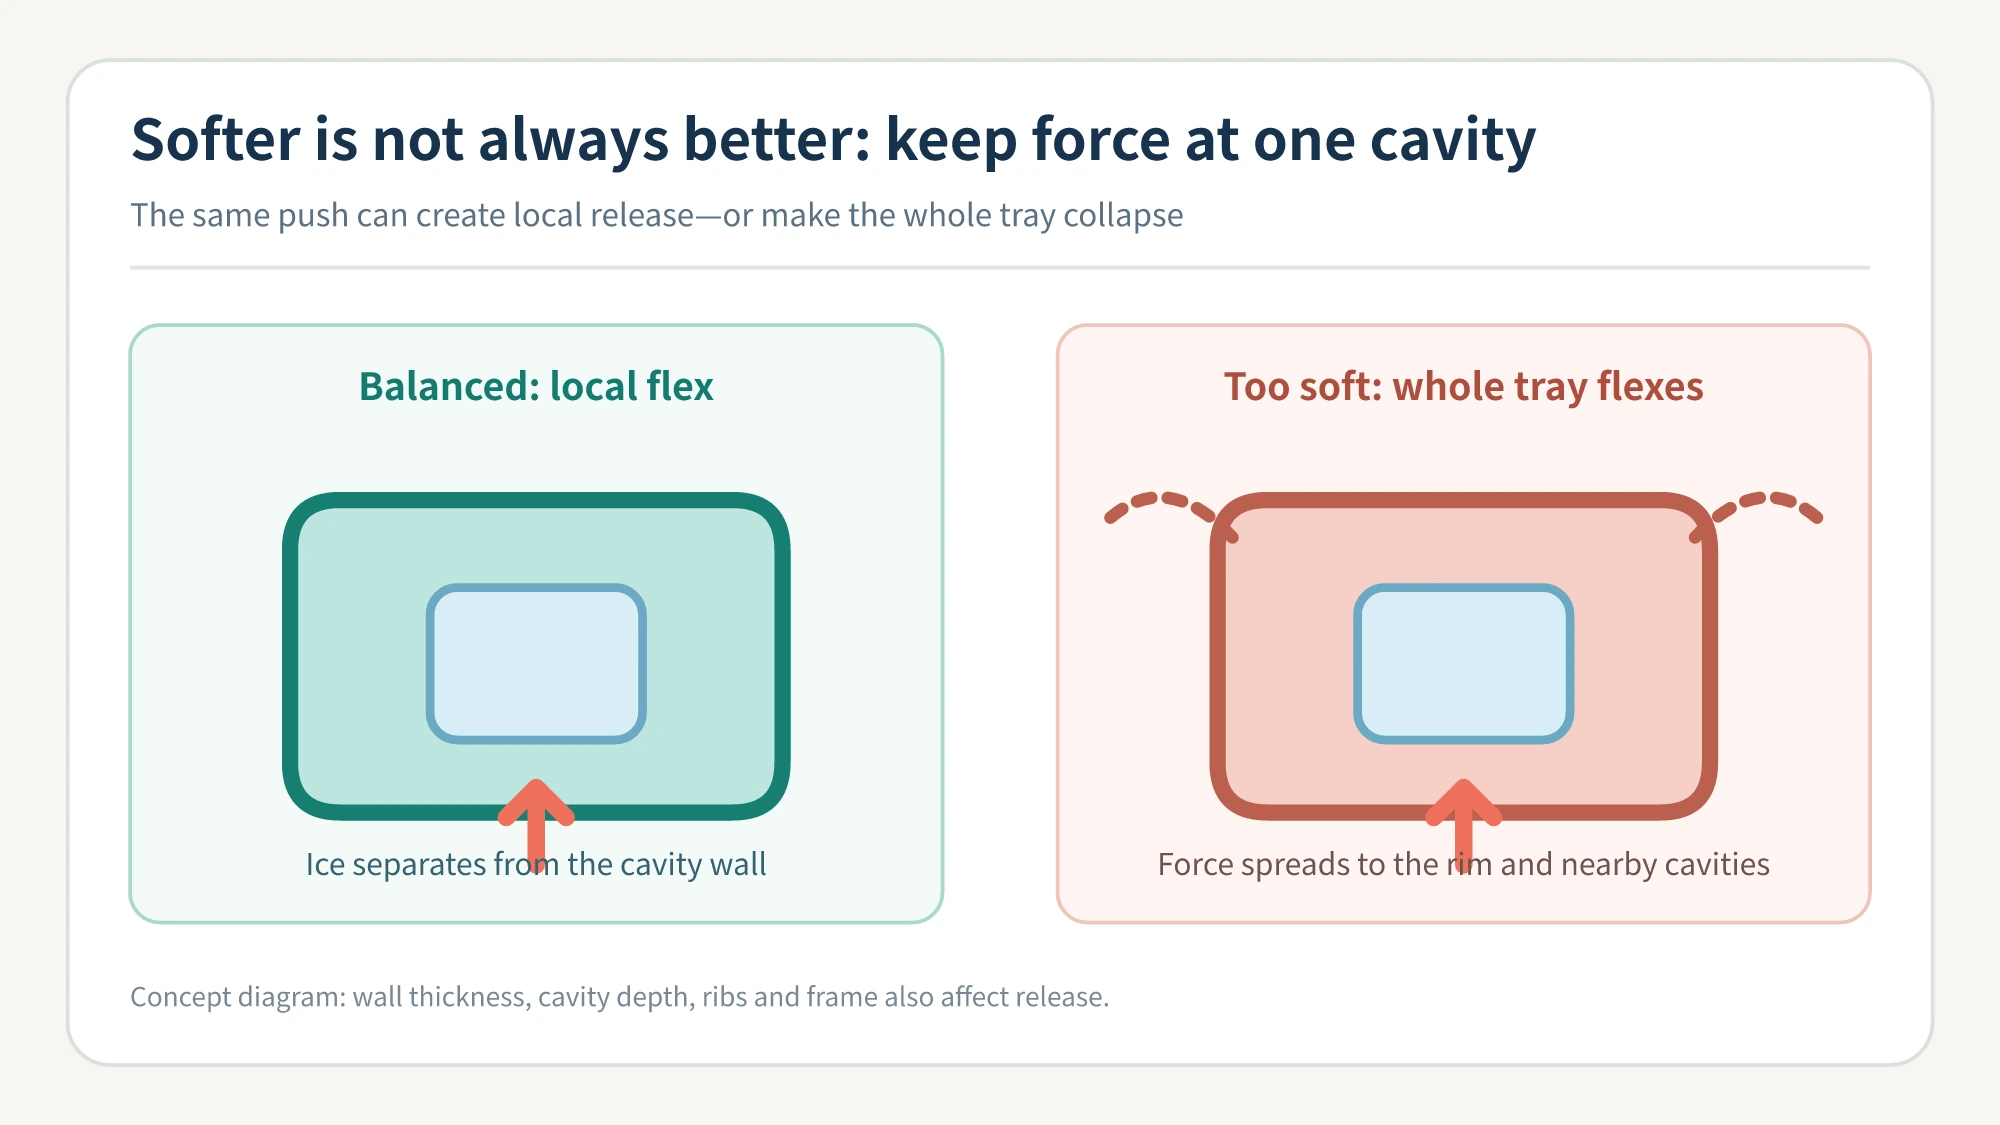
However, continually lowering the hardness does not guarantee a continually better experience. A tray still has to carry water, move between surfaces, stack, and withstand twisting. If the body is too soft, a tray full of water can wobble when lifted, while the rim and dividers deform with it. When one cavity is pressed, the entire tray may collapse before the force concentrates at the interface between the ice and the wall. A balanced sample allows the bottom and adjacent walls to deform locally while the full tray remains adequately supported during carrying and stacking.
A nominal hardness value cannot replace a physical sample. Silicone hardness is itself accepted within a specified tolerance. Even if two suppliers quote the same Shore A value, the finished feel may still differ. Wall thickness, cavity depth, reinforcing ribs, and a rigid outer frame add further variables, so two trays with the same nominal hardness do not necessarily respond alike when pressed. For buyers, a hardness range is useful for narrowing the sampling window, but the final decision should still be based on an approved sample tested under consistent conditions.
Second Check: Look for a Narrowing Along the Release Path
You do not need to learn mold terminology before assessing a narrowed opening. Locate the widest internal section of the cavity, then follow the direction in which the ice will be pushed toward the opening. If the path stays the same width or becomes wider, there is no obvious geometric obstruction. If the path becomes narrower near the opening, the cube must stretch the silicone before it can pass. This narrowed section is what this article calls a “narrowed opening”; structurally, it is an undercut.
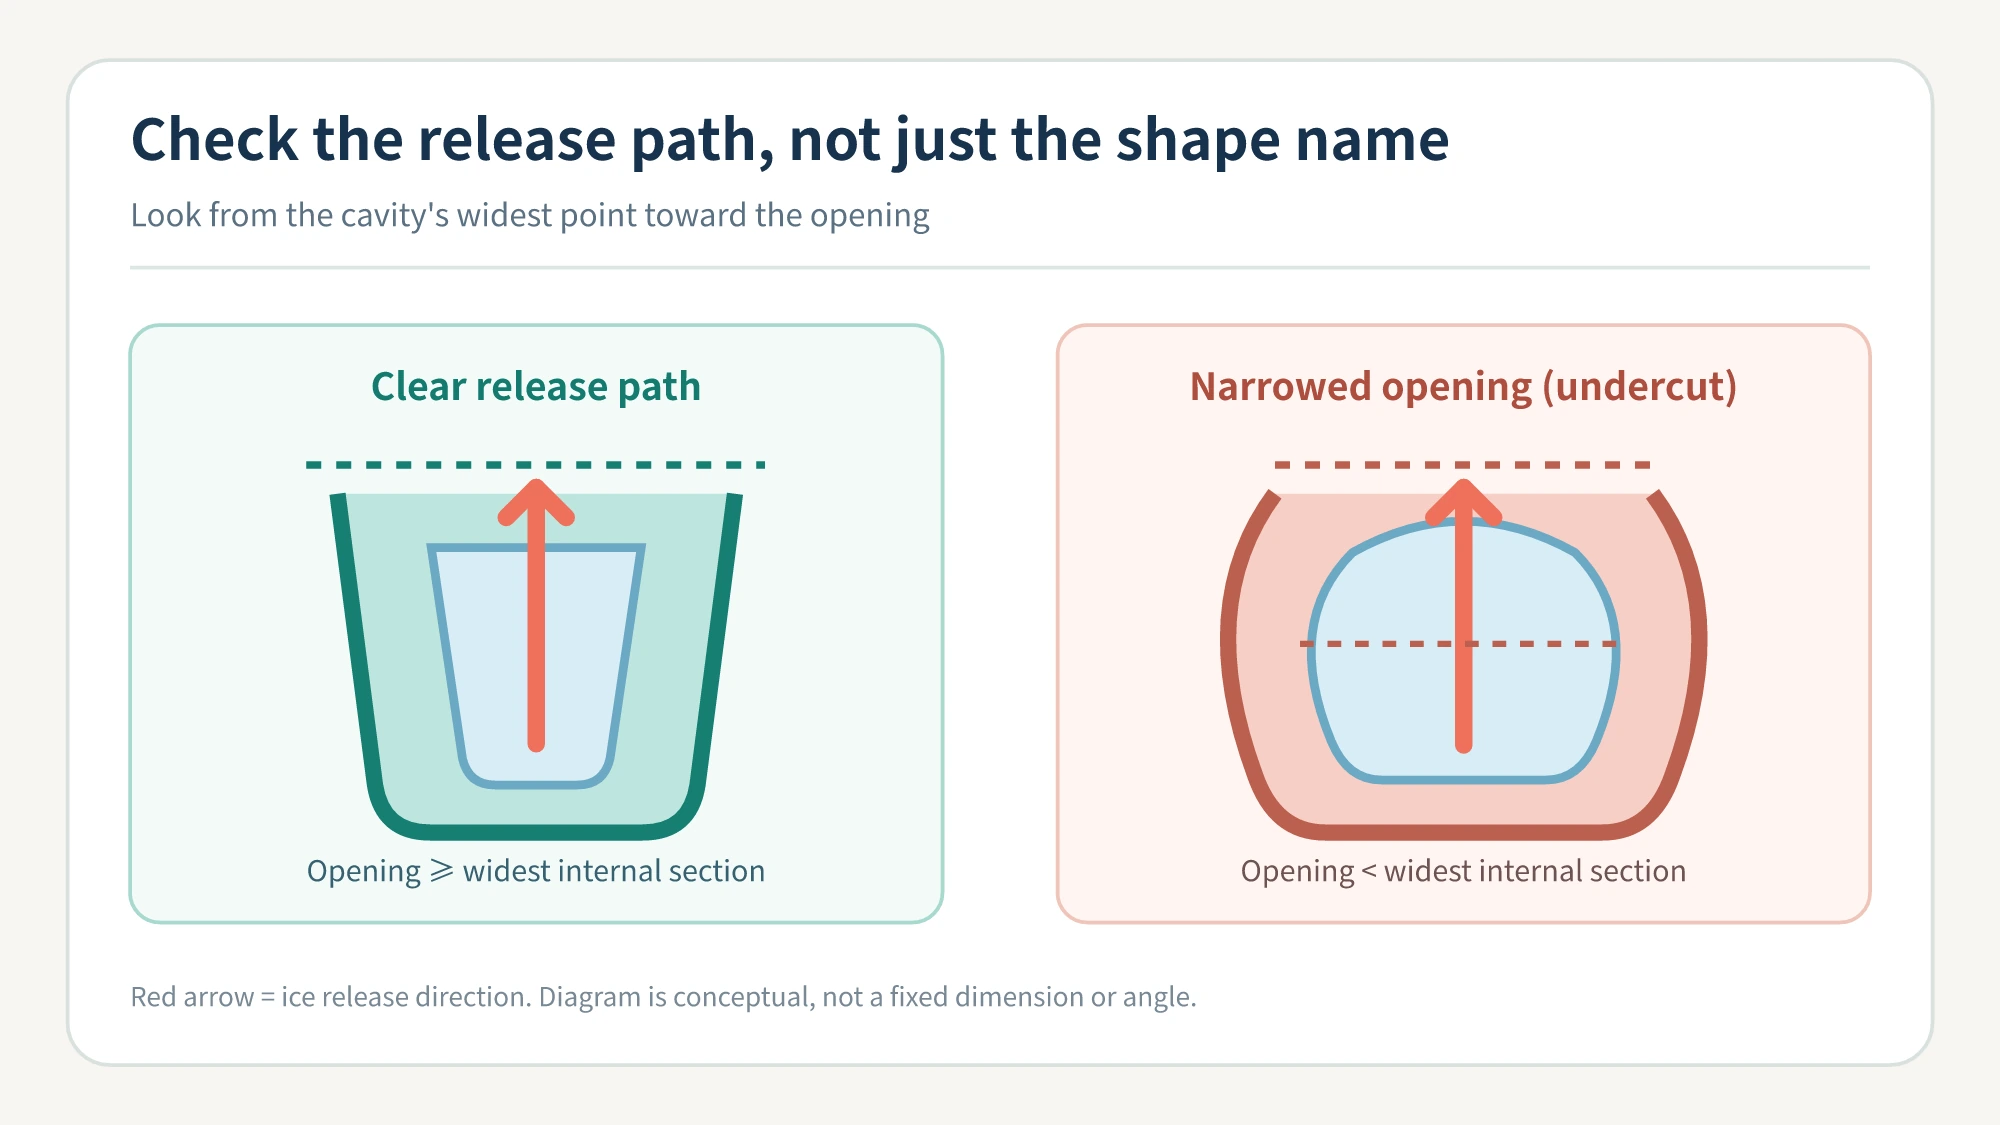
Water expands by approximately 9% when it freezes, so it conforms more fully to the cavity and fills the space around a narrowed opening. Once the ice has formed completely, the key questions are whether its largest cross-section can pass through the outlet and whether the cavity walls can create enough clearance.
Terms such as “cube,” “sphere,” or “novelty shape” describe appearance, but they cannot replace a structural assessment. A tapered cavity that is wider at the top than at the bottom usually provides a relatively clear release path. Spherical and three-dimensional shapes are more likely to be wider inside than at the outlet, although split designs, localized openings, and suitable silicone deformation can address the issue. Conversely, even an ordinary-looking square cavity can create an obstruction if its rim turns inward or includes a local projection.
An undercut is not necessarily a design error. To preserve the outward-curving detail on the lower portion of a sphere or another three-dimensional shape, a cavity often has to be wider inside than at its opening. Such shapes are possible because silicone can fold and stretch. Product development, therefore, involves a tradeoff: how much of the intended geometry should be retained, and what combination of opening size, wall design, and hardness will still allow an ordinary user to remove the ice easily?
Evaluate Hardness and Undercuts Together
Hardness affects whether the cavity walls can stretch, while the narrowed opening determines how much clearance they must create. Together, these factors produce the relaxed feel experienced by the user.
| Finished-product deformability | Release path | Typical behavior | What to check first in development |
|---|---|---|---|
| Moderate | Constant width or gradually widening opening | Usually releases with a push or slight twist | Check for local projections and surface defects |
| Relatively hard | Constant width or gradually widening opening | No obvious geometric lock, but separation may require more force | Compare the bottom and sidewall thicknesses and determine whether the frame restricts deformation |
| Moderate | Narrowed opening | Local stretching can allow release; the feel depends on the undercut depth and wall design | Observe the transition from the maximum cross-section to the opening and test physical samples |
| Relatively hard | Pronounced narrowed opening | The walls resist stretching while the exit is obstructed, creating the highest risk of difficult release | Adjust the geometry first, then calibrate hardness within a range that still provides adequate support |
This table is only intended for comparing candidate samples with similar dimensions and structures. It does not define universal hardness categories for the industry. Wall thickness, cavity depth, and frame design all change how the finished product deforms, so water volume and other test conditions must remain consistent when samples are compared.
Test Easy Ice Release in Three Steps
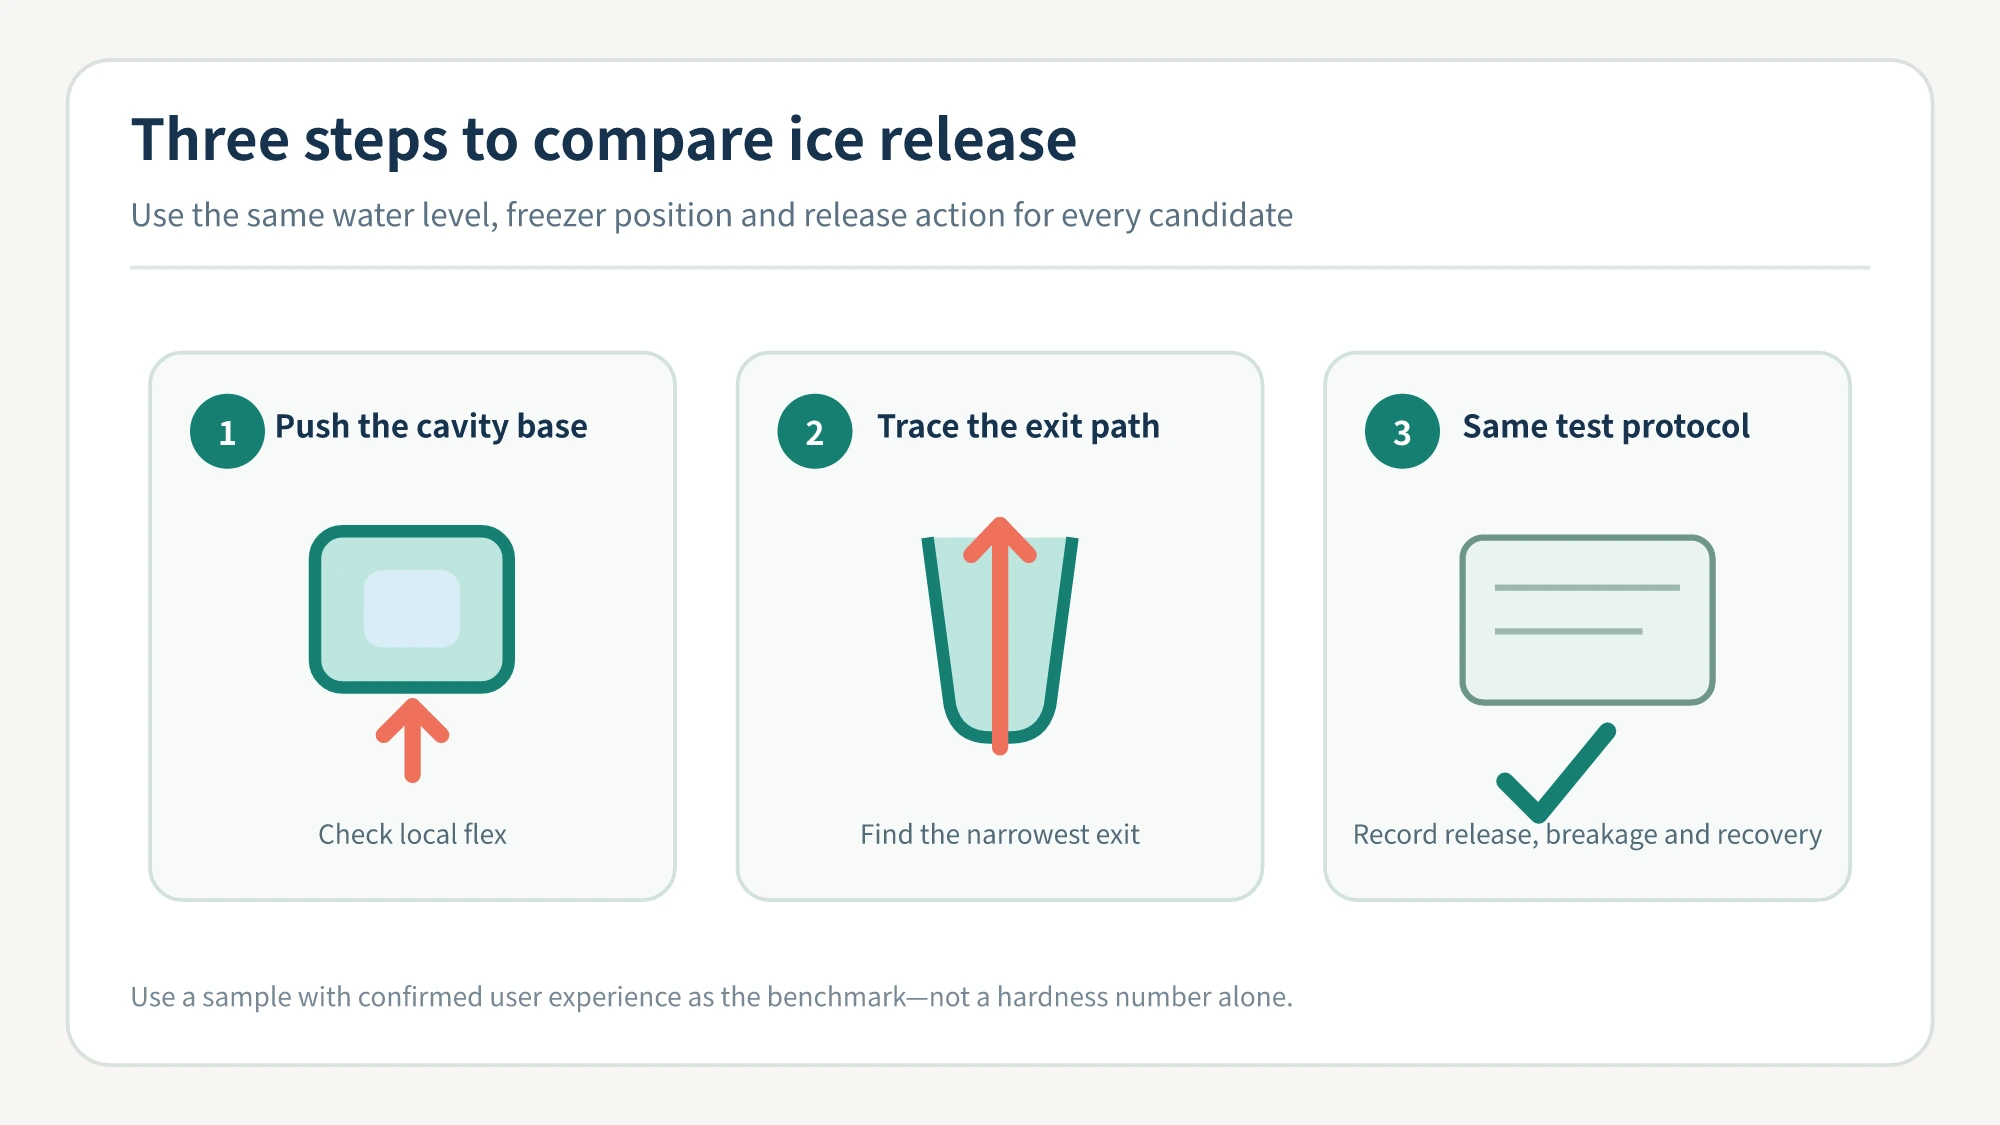
Step 1: Check the feel, but press the right areas. Press the cavity bottom and the divider between cavities separately, then hold the rim and twist the complete tray gently. Record which areas deform locally and which provide support. Do not judge the tray only by pinching its thinnest corner. Consumers shopping online can infer only part of the structure from photographs. Brand buyers should use a sample with an already approved release feel as their tactile reference instead of comparing only the hardness figures quoted by suppliers.
Step 2: Inspect the ice release path. Using a cavity cross-section or the side of the physical sample, trace the path from the widest internal point to the opening. Mark inward tapers, projections, and deep sections. Evaluate the release paths of two-piece silicone sphere trays separately: the sphere outlet, separation path between the upper and lower pieces, and seam location all matter. The material being silicone does not automatically guarantee easy release.
Step 3: Run a controlled ice-release test. In one test round, use the same water, fill level, freezer position, and freezing time for every sample. After the water has frozen completely in all trays, apply the same release action to each one, such as continuously pressing the center of the cavity bottom. Record whether one action releases the cube, whether extensive folding is required, whether cubes often fracture, and whether the tray develops cracks or permanent deformation. If a numerical specification is required, measure the ice-release force of a satisfactory approved sample under defined conditions. The result can then serve as the project’s internal benchmark and as the basis for setting an acceptance limit.
This approach turns vague requests such as “make it softer” or “make the ice easier to release” into three sample conditions that can be compared: a hardness and tactile benchmark, the cavity undercut, and a controlled release test. If these three items need to be aligned during sampling, تصنيع منتجات السيليكون المخصصة support from YueHouDZ can translate the release requirement into a defined cavity structure and an approved physical sample.